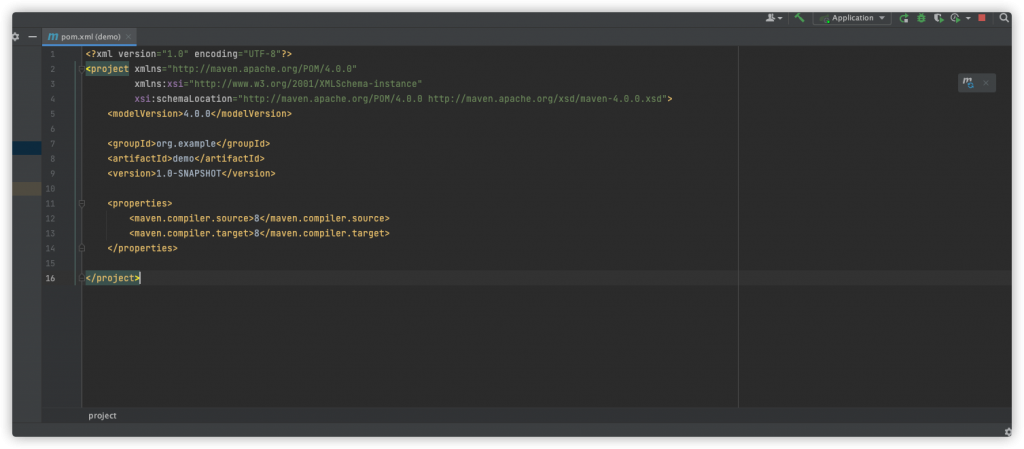
首先,在IDE 创建 Maven 项目


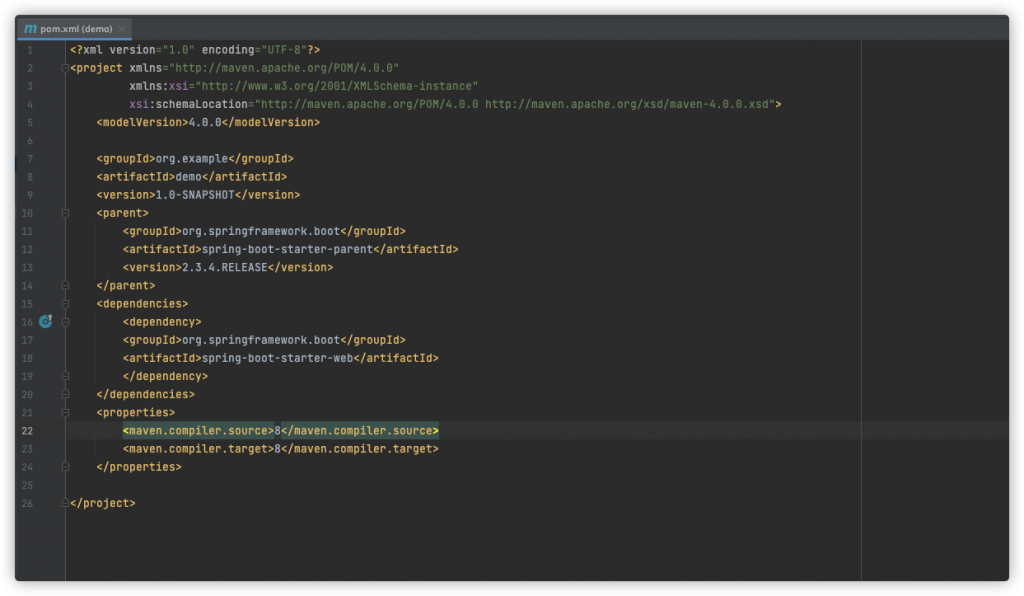
然后定义父项目后添加所需要的 Starter
<parent>
    <groupId>org.springframework.boot</groupId>
    <artifactId>spring-boot-starter-parent</artifactId>
    <version>2.3.4.RELEASE</version>
</parent>
<dependencies>
    <dependency>
    <groupId>org.springframework.boot</groupId>
    <artifactId>spring-boot-starter-web</artifactId>
    </dependency>
</dependencies>


package com.demo.boot;

import org.springframework.boot.SpringApplication;
import org.springframework.boot.autoconfigure.SpringBootApplication;

@SpringBootApplication
public class Application {
    public static void main(String[] args) {
        SpringApplication.run(Application.class, args);
    }
}
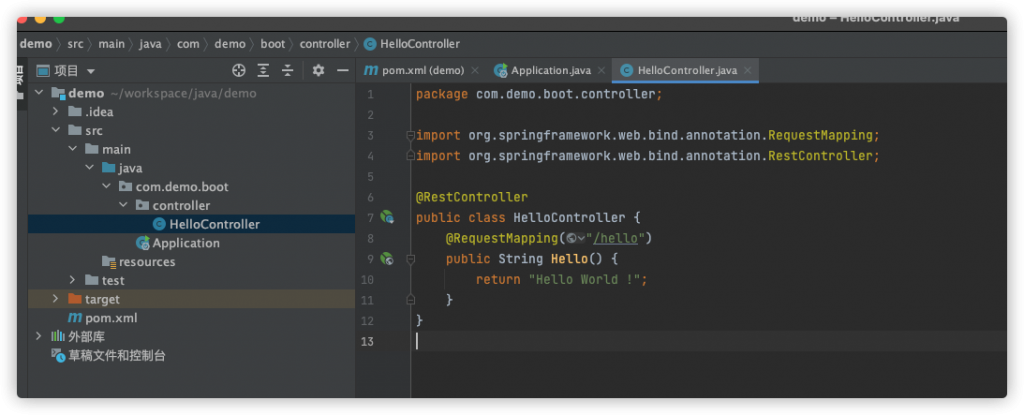
再定义一个接受请求的 Controller
package com.demo.boot.controller;

import org.springframework.web.bind.annotation.RequestMapping;
import org.springframework.web.bind.annotation.RestController;

@RestController
public class HelloController {
    @RequestMapping("/hello")
    public String Hello() {
        return "Hello World !";
    }
}

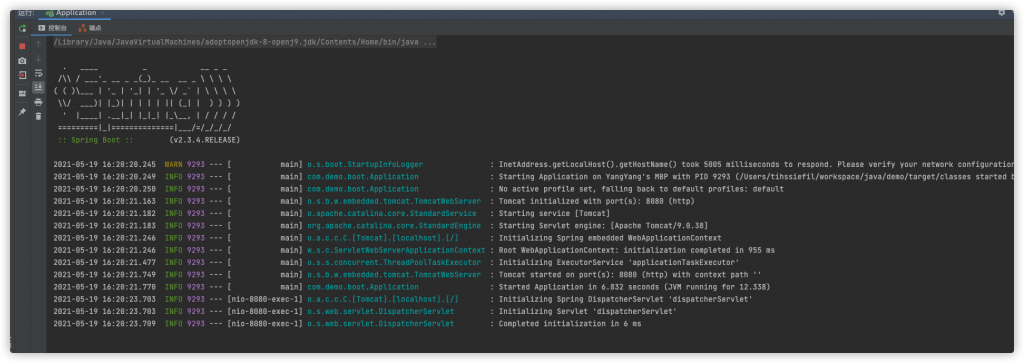
最后启动入口类


访问127.0.0.1:8080/hello 查看结果


